

Discovering mould in your home isn't about how clean you keep it; it’s a sign that your home's environment is out of balance. For effective mould remediation Hamilton homeowners can count on, the real work starts with finding and fixing the source of the moisture that’s letting it grow.
Why Hamilton Homes Are Prone to Mould Growth
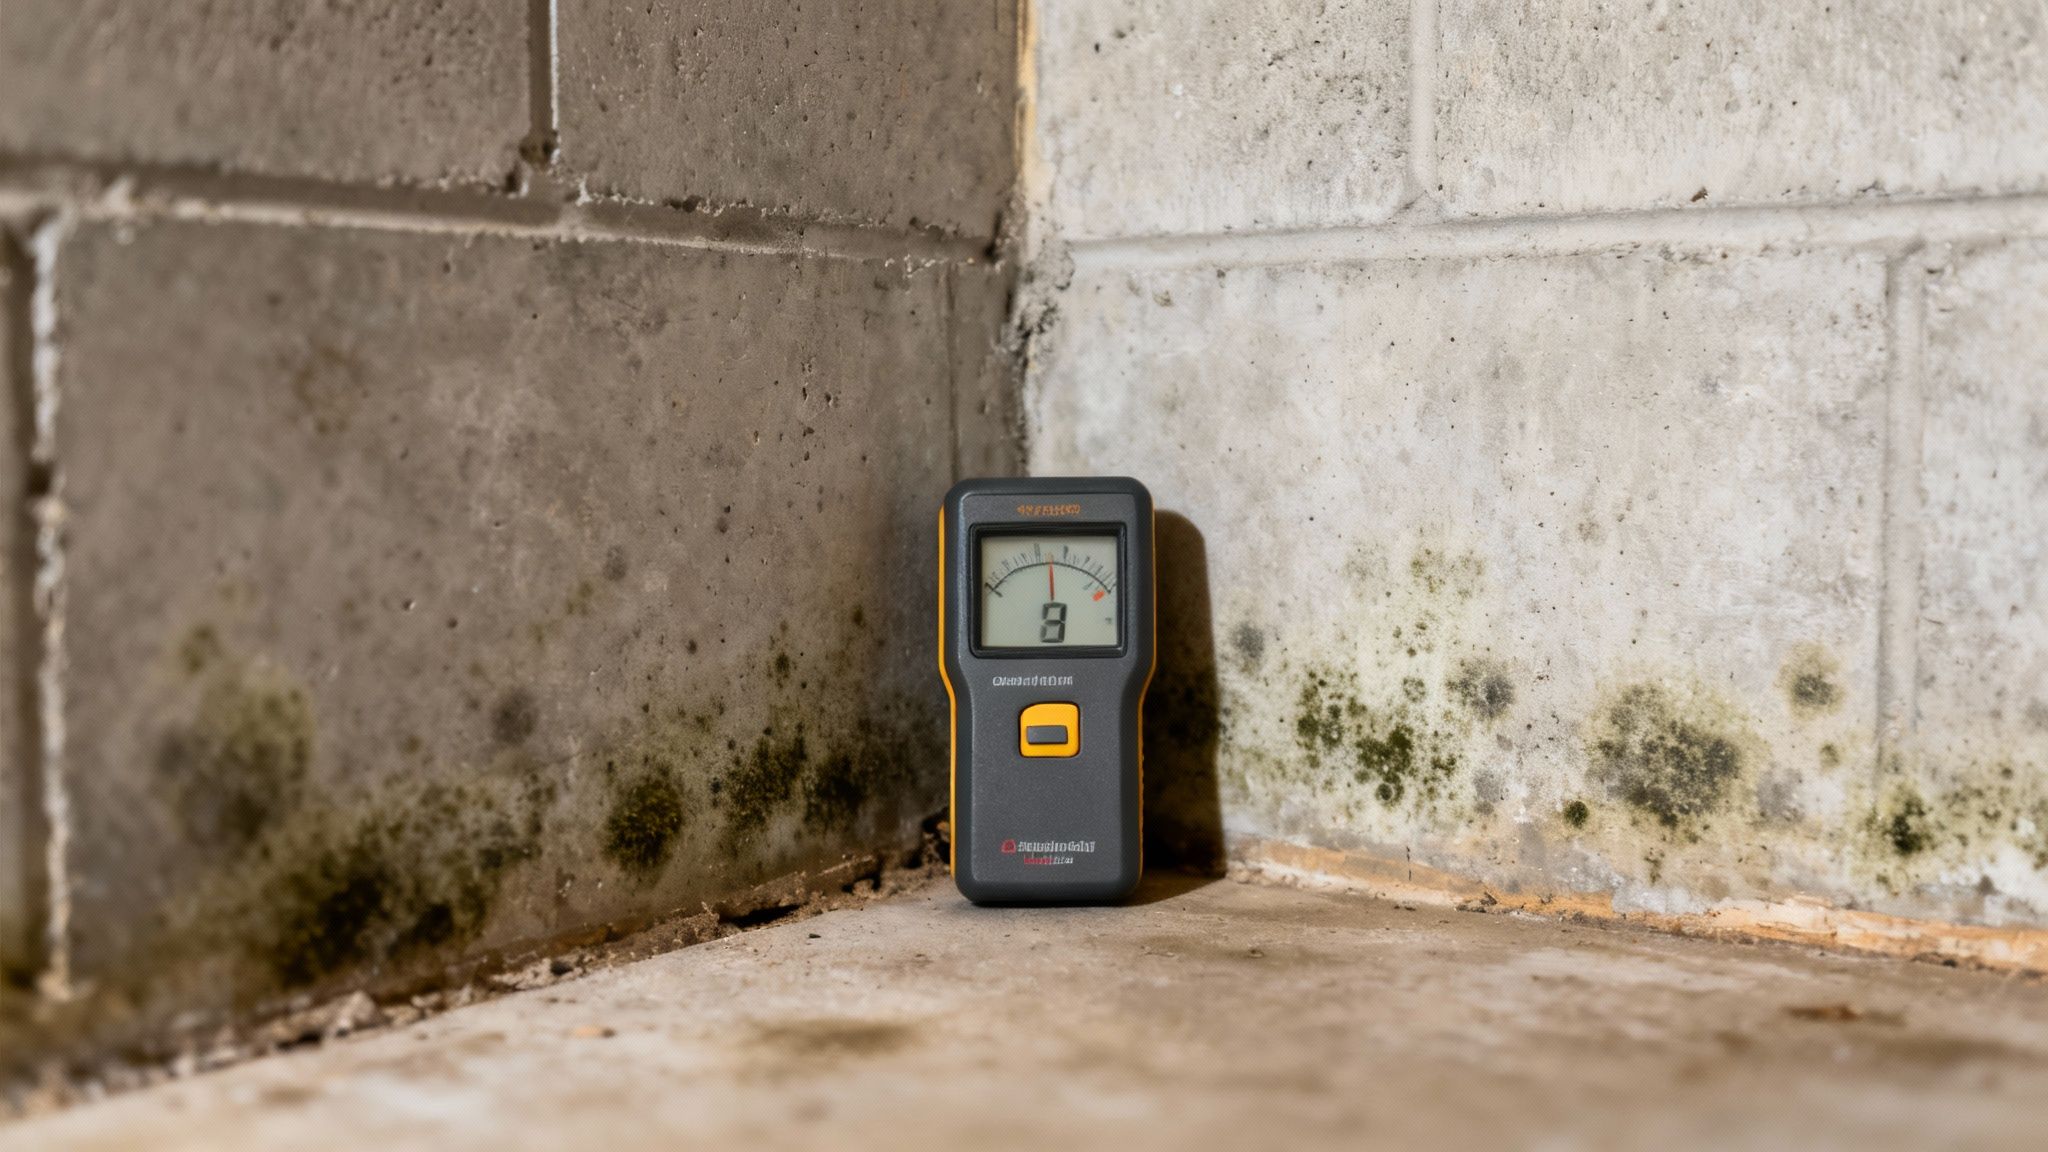
If you've found mould in your Hamilton-area home, you're not alone. Our city's unique climate, sitting right on the edge of Lake Ontario, creates the perfect conditions for mould to thrive. It's a widespread issue for local homeowners, and it's tied directly to our environment.
Think of it this way: mould spores are everywhere, all the time, floating harmlessly in the air. They only become a problem when they find an ideal place to land—somewhere with a food source like wood or drywall, and most importantly, moisture. Your basement, attic, or a steamy bathroom can quickly become a five-star resort for these unwelcome guests.
The Role of Hamilton's Climate
Hamilton's weather is a major factor. Our famously humid summers mean we're constantly fighting off excess moisture in the air. It’s common for summertime humidity here to hover between 70% and 80%, which is the perfect breeding ground for mould, especially in basements and crawl spaces.
This is especially true in Hamilton's older neighbourhoods, from Dundas to Stoney Creek, where many homes were built before modern vapour barriers and humidity control were standard. When all that warm, moist air from a summer day hits a cool basement foundation wall, condensation happens. That persistent dampness is all mould needs to get started.
Mould is a symptom of a larger problem: moisture. Simply cleaning the visible spots without fixing the water source is like bailing out a boat without plugging the leak. The problem will always return.
Common Moisture Sources in Your Home
Beyond the general humidity, a few specific culprits are often behind a serious mould problem. Pinpointing these is the first step toward a lasting solution.
Watch out for these key problem areas in your home:
- Leaky Foundations: Even hairline cracks in your foundation can let groundwater seep into your basement, creating a state of chronic dampness.
- Poor Ventilation: Attics and bathrooms without proper exhaust fans trap moist air, which is why you often see mould starting on ceilings and in corners.
- Plumbing Leaks: That slow, hidden drip from a pipe behind a wall or under a sink can quietly saturate drywall and wood, creating a massive mould colony you can't even see.
- High Basement Humidity: Basements are naturally cool and prone to dampness, making them the number one spot for mould growth if the humidity isn't managed. We take a closer look at this in our guide on the importance of keeping your basement dry and moisture-free.
The bottom line is that mould is an environmental issue caused by water. It’s not a reflection on your housekeeping—it’s a structural challenge that needs a professional strategy to make your home safe and dry again.
The Hidden Health Risks of Living with Mould
That musty smell or those dark stains on the drywall are ugly, sure. But the real problem with mould is the one you can’t see. Once a mould colony takes root, it starts pumping microscopic spores into the air you breathe. These tiny particles get inhaled easily, turning your home's air from a safe haven into a source of health problems.
It's a story we hear all the time from Hamilton homeowners: an unexplained cough that won't go away, allergies acting up for no reason, or asthma that suddenly gets worse. More often than not, these frustrating symptoms can be traced directly back to an unseen mould problem. It’s your body's way of telling you it’s under constant attack from these airborne irritants.
This graphic breaks down how spores travel from a damp wall or floor right into your lungs, kicking off those health issues.

It’s a clear illustration that mould isn't just a cosmetic issue. It’s an active environmental hazard in your home that has a direct line to your family’s well-being.
Who Is Most at Risk in Your Home?
While nobody benefits from breathing in mould, some people in your household are far more vulnerable. Their immune or respiratory systems just aren't built to handle a constant barrage of airborne spores.
This group includes:
- Children and Infants: Their small, developing lungs are incredibly susceptible to irritation.
- The Elderly: A weaker immune system means seniors are more prone to respiratory infections and other complications.
- Individuals with Asthma or Allergies: For them, mould spores are a known trigger that can cause severe reactions, including dangerous asthma attacks.
- Anyone with a Compromised Immune System: People with existing health conditions are at a much greater risk of developing serious issues from mould exposure.
Protecting these vulnerable family members is precisely why tackling a mould problem is non-negotiable. It’s about making your home a safe, healthy space for every single person who lives there.
Common Symptoms of Mould Exposure
The tricky thing about mould-related symptoms is they often mimic a common cold or seasonal allergies, so the real cause gets missed. But if you notice these issues dragging on for weeks or they seem to get worse whenever you're at home, that's a huge red flag that your indoor air is the problem.
Think of mould spores as invisible dust that your body is constantly trying to fight off. Over time, this constant battle can lead to chronic inflammation and persistent health symptoms that don't seem to go away with typical remedies.
Even before you see anything, that persistent musty odour is often the first sign of a hidden mould colony. Local studies have shown a direct link between dampness in Hamilton homes and worsening allergic symptoms, particularly for kids and seniors in areas like Ancaster and Dundas. This connection makes professional mould remediation in Hamilton an essential service for protecting our community’s health.
The Professional Mould Remediation Process Explained
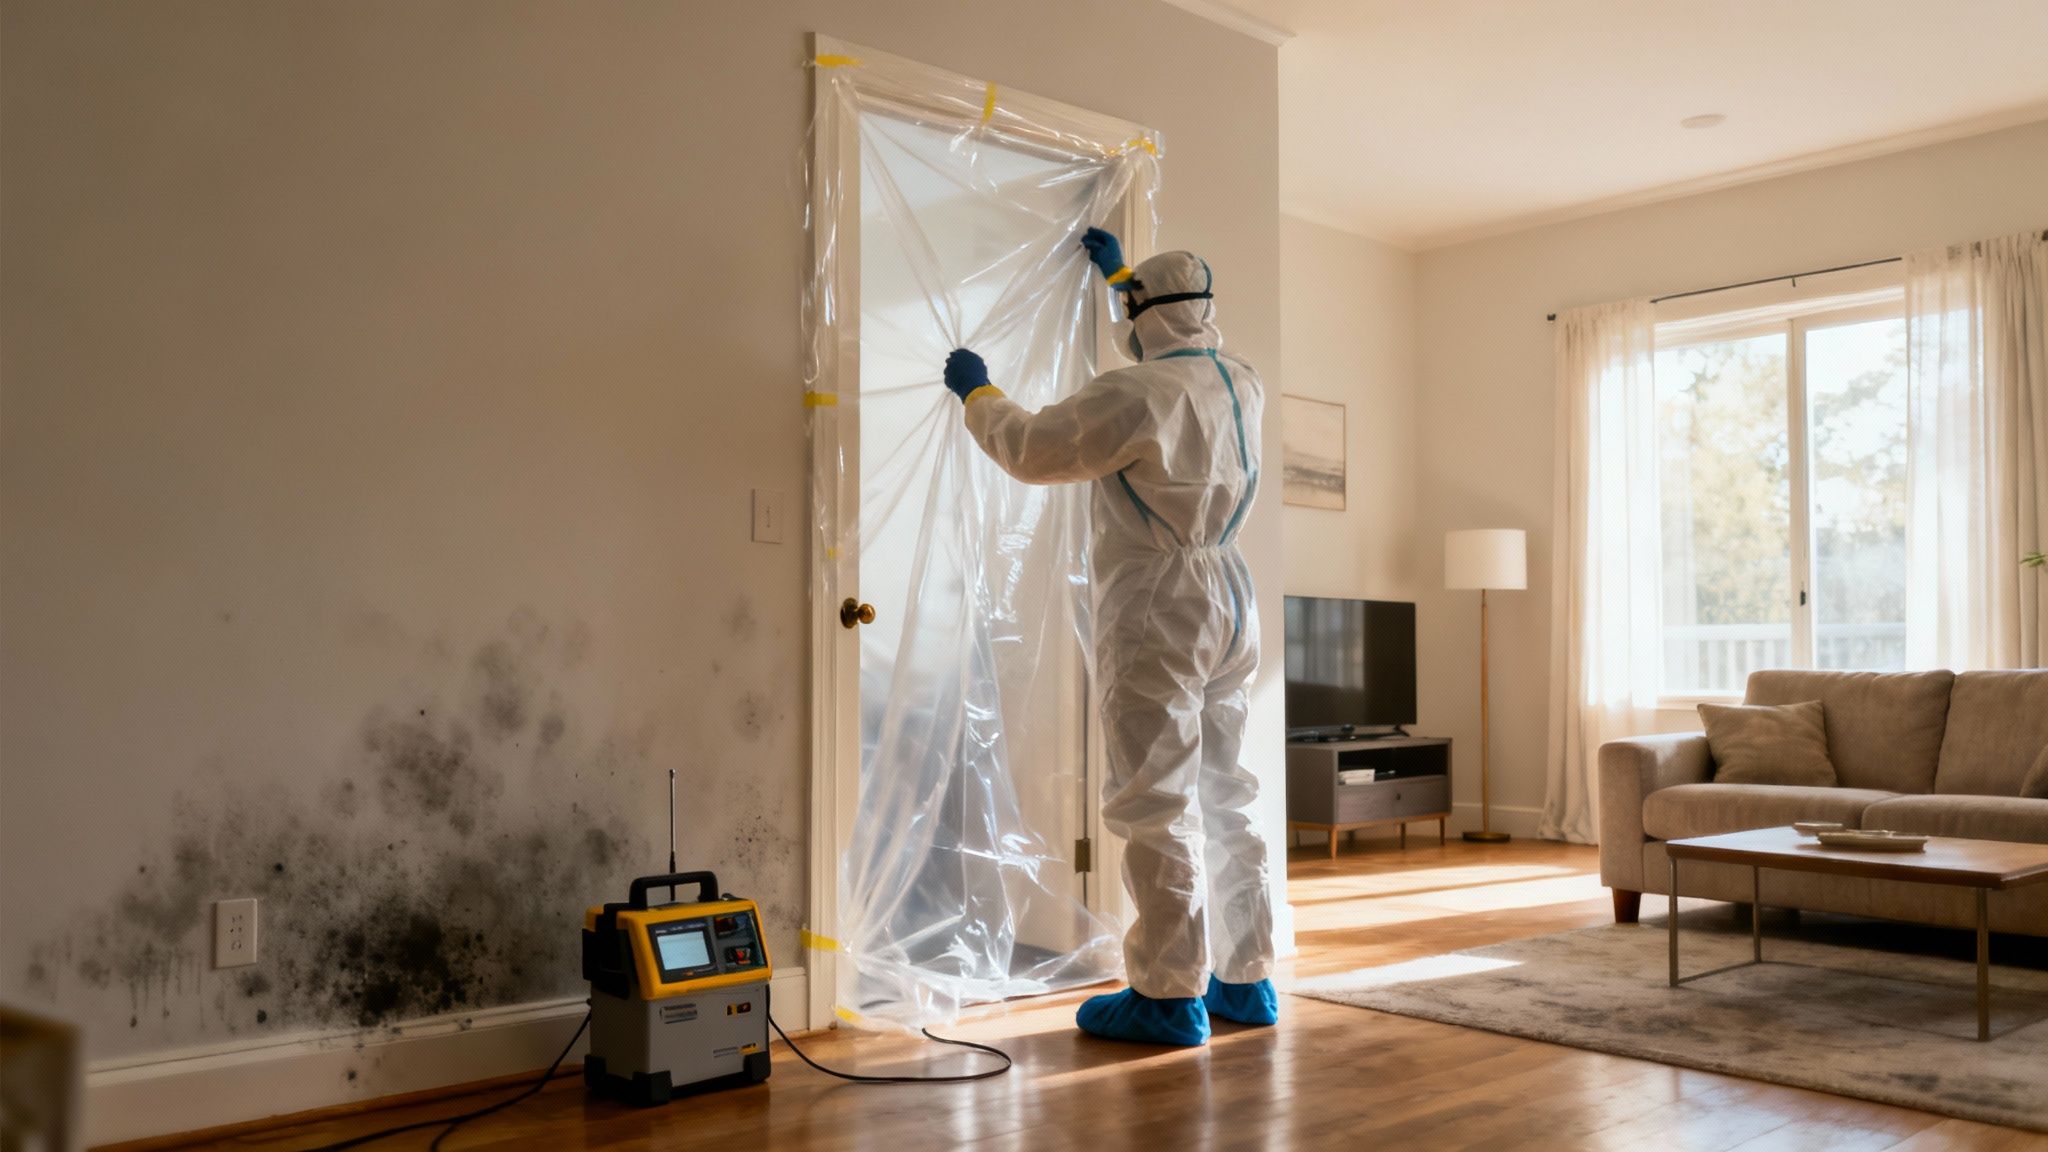
When you find mould, your first instinct might be to grab some bleach and scrub it away. But professional mould remediation in Hamilton is a completely different ball game. It’s not about a quick surface clean; it's a careful, systematic process designed to eliminate the mould for good and make sure it doesn’t come back.
Think of it like this: spraying a chemical is like pulling the top off a weed. A true professional gets to the root of the problem—the moisture—and eliminates the contamination without accidentally spreading it through your home. Let's walk through what a proper, professional job actually involves.
Step 1: Assessment and Inspection
Before a single tool comes out, a true professional needs to play detective. This first inspection is everything; it sets the stage for the entire project. It's like a doctor diagnosing an illness before even thinking about treatment.
Our specialists use more than just their eyes. We use moisture meters to find dampness hiding inside drywall and thermal imaging cameras to spot cold zones behind walls where condensation is likely forming. This tells us not just where the mould is, but more importantly, why it’s there in the first place.
Step 2: Containment and Air Filtration
Once we know the extent of the problem, the number one priority is to stop it from spreading. If you disturb a mould colony without containing it, you might as well blow on a dandelion puff. Spores will go everywhere, turning a localized issue into a whole-house nightmare.
To prevent this, we build a containment chamber with heavy-duty plastic sheeting and special tape. Inside this sealed zone, we run powerful negative air scrubbers. These machines create a vacuum effect, pulling air through a HEPA filter before venting it safely outside. It’s a crucial step to trap any and all airborne spores.
A professional's first job is to contain the problem, not spread it. Sealing off the work area and filtering the air is a non-negotiable safety step that separates a true expert from an amateur.
Step 3: Safe Removal of Contaminated Materials
With the area sealed off, the real removal work begins. For porous materials like drywall, insulation, or carpeting, a simple wipe-down is useless. Mould grows deep roots, called hyphae, that penetrate right into the material.
This means any contaminated porous materials have to be physically cut out, double-bagged in sealed disposal bags, and carefully removed. Harder, non-porous surfaces like metal or glass can often be saved by cleaning them with potent antimicrobial treatments. Our technicians do all this while wearing full personal protective equipment (PPE) to avoid any cross-contamination.
Step 4: Thorough Cleaning and Dehumidification
After the mould-infested materials are gone, the entire contained area gets a top-to-bottom deep clean. We start with HEPA vacuums to suck up any lingering particles from every surface—wall studs, concrete floors, you name it. Then, everything is meticulously wiped down with a specialized antimicrobial solution to kill off any remaining spores.
At the same time, we bring in the heavy machinery: industrial-grade dehumidifiers and high-speed air movers. Getting the space completely dry is non-negotiable for preventing regrowth. You can learn more about finding that perfect humidity balance in our guide: Should you use a dehumidifier in your basement?
Step 5: Verification and Restoration
The final phase is all about proof. How do you know the job was done right? Often, an independent third-party inspector is called in to perform post-remediation air quality testing. This unbiased verification gives you complete peace of mind that your home’s air is clean and safe again. While our expertise is broad, some situations require specialized cleaning, and understanding how air duct cleaning mold removal works can be important for your HVAC system.
Only after we get the all-clear does the restoration begin. We’ll replace the drywall, insulation, and anything else that was removed, seamlessly returning your home to its original state. This methodical, safety-first approach is the only way to deliver a permanent solution to a mould problem.
Mould Remediation Stages From Inspection to Restoration
| Stage | Primary Goal | Key Actions for Homeowner and Contractor |
|---|---|---|
| 1. Inspection | To identify the source, type, and extent of mould contamination. | Contractor: Uses moisture meters & thermal imaging. Homeowner: Provides history of water issues. |
| 2. Containment | To prevent cross-contamination to unaffected areas of the home. | Contractor: Sets up physical barriers and negative air pressure. Homeowner: Avoids entering the area. |
| 3. Removal | To safely remove all mould-damaged materials from the property. | Contractor: Cuts out and bags porous materials. Homeowner: Stays clear of the work zone for safety. |
| 4. Cleaning | To eliminate any remaining mould spores and moisture. | Contractor: HEPA vacuums & applies antimicrobials. Homeowner: Allows space to fully dry. |
| 5. Verification | To confirm that the remediation was successful and the area is safe. | Contractor: Arranges for third-party air testing. Homeowner: Reviews the clearance report. |
| 6. Restoration | To rebuild the affected area and return it to its pre-mould condition. | Contractor: Reinstalls drywall, flooring, etc. Homeowner: Final walkthrough and approval. |
Following these stages meticulously is what separates a temporary fix from a lasting solution, ensuring your home in Hamilton remains safe and mould-free for the long haul.
How to Choose a Certified Mould Remediation Expert in Hamilton
Choosing a professional for mould remediation in Hamilton is one of the most critical decisions you'll make for your home. It’s a choice that directly impacts your family’s health and your property’s value. The problem? The industry is unregulated in Ontario, which puts the burden of finding a true expert squarely on your shoulders.
We’ve seen the aftermath of jobs done by unqualified operators: mould simply painted over, contaminated drywall left in place, and the original moisture problem completely ignored. This guide is here to help you avoid those costly and dangerous mistakes.
Think of it like hiring a surgeon. You wouldn’t pick one based on the lowest price or a vague promise. You’d demand proof of qualifications, a solid track record, and a clear, detailed plan. The exact same standards apply when you’re dealing with the health of your home.
Look for IICRC Certification
The first thing you must ask for is certification from the Institute of Inspection, Cleaning and Restoration Certification (IICRC). This is the non-negotiable, gold-standard credential in the restoration industry, recognized worldwide.
An IICRC-certified firm and its technicians have gone through intensive training and passed rigorous exams covering the science behind mould growth, proper containment, and safe removal techniques. This isn't just a piece of paper—it's your assurance that the contractor understands how to do the job right and protect your family.
Without IICRC certification, you have no way of knowing if a contractor is following industry-approved safety protocols. A reputable company will be proud to show you their credentials, so always ask to see them.
Verify Their Insurance and Experience
Next, confirm that the contractor carries adequate liability insurance and WSIB coverage. Don't just take their word for it; ask for a certificate of insurance. This is what protects you from being held financially responsible if an accident or property damage happens on your watch.
Experience with Hamilton's unique housing stock is also a huge plus. A contractor who knows the common construction styles and foundation types in neighbourhoods from Ancaster to Stoney Creek is much better equipped to find those tricky moisture sources specific to our area.
Be direct and ask these questions:
- How many mould remediation projects have you completed in Hamilton this year?
- Can you provide references from recent, local clients?
- Do you have specific experience with older homes that have stone or brick foundations?
Demand a Detailed Scope of Work
Never accept a quote scribbled on a napkin or given over the phone. A real professional will conduct a thorough on-site inspection and then provide a detailed, written scope of work. This document is the roadmap for your project.
A proper proposal must clearly outline:
- The Identified Moisture Source: It must explicitly state what caused the mould and the plan to fix it permanently.
- Containment Procedures: It should describe exactly how they will seal off the work area to prevent spores from spreading through your home.
- Removal Methods: It needs to specify which materials will be removed and how they will be safely disposed of according to regulations.
- Cleaning and Treatment Protocols: It should detail the equipment (like HEPA vacuums and air scrubbers) and antimicrobial agents they plan to use.
- A Clear Timeline and Cost Breakdown: No hidden fees or vague "estimates." You need to know exactly what you're paying for.
This level of detail ensures you're investing in a complete solution, not just a surface-level cleanup. In Hamilton, since mould remediation is an unregulated field, the quality of service can vary wildly. This is why you must seek out professionals with verifiable credentials and a proven track record. You can discover more insights about industry standards in Canada to understand just how vital this due diligence is.
Arming yourself with this checklist is the best way to vet potential contractors. It helps you filter out the amateurs from the true experts, ensuring your investment in mould remediation in Hamilton leads to a safe, healthy, and permanently mould-free home.
Breaking Down Mould Remediation Costs in Hamilton

Let's get straight to the point: what does professional mould remediation in Hamilton actually cost? The honest answer is, "it depends." There's no one-size-fits-all price, and you should be wary of any contractor who throws out a number over the phone without ever setting foot in your home.
The final quote is a careful calculation based on several factors unique to your property. Think of it like fixing a car—a mechanic can’t quote you for a "rattling noise" without looking under the hood. A simple brake pad swap is one price; a full engine rebuild is another beast entirely. It’s the same with mould.
Understanding these variables is crucial. It empowers you to evaluate quotes fairly and see the cost for what it is: a vital investment in your home's value and your family's health.
The Scope of Contamination
The sheer size of the mould problem is the biggest driver of the final price. A small patch of surface mould in a bathroom closet is a relatively simple fix. But if that mould has burrowed behind the drywall, saturated the insulation, and spread across the wall studs? The scope—and the cost—balloons.
We don't just measure the visible mould. We assess the total area that needs to be contained, cleaned, and possibly demolished. A larger contaminated area means more labour, more containment materials, and more time running specialized equipment like industrial-grade air scrubbers.
The Materials Involved
What the mould is growing on makes a huge difference in the remediation strategy and its price tag. You can't treat drywall the same way you treat concrete.
- Non-Porous Surfaces: Think metal, glass, or sealed concrete. These materials can often be thoroughly cleaned and saved with antimicrobial treatments. This is typically the most budget-friendly scenario.
- Porous Surfaces: This is where things get tricky. Materials like drywall, insulation, carpeting, and unsealed wood act like sponges. Mould sends roots deep inside, making surface cleaning pointless. These materials almost always have to be cut out and safely disposed of, which adds to labour and material costs.
- Structural Wood: When mould gets into foundational elements like floor joists or support beams, the job becomes far more complex. It often requires advanced techniques like abrasive blasting (using dry ice or soda) to scour the mould away without damaging the wood’s structural integrity.
When you're looking at a quote, the list of variables can seem long. Each one plays a role in building an accurate picture of the work required. Here's a quick breakdown of what a professional estimator is looking for.
Key Factors Influencing Your Remediation Quote
| Cost Factor | Why It Matters | Potential Impact on Price |
|---|---|---|
| Area Size (sq. ft.) | The bigger the contaminated zone, the more labour, containment, and equipment are needed. | High Impact: This is the primary cost driver. |
| Mould Location | An easily accessible attic is simpler and cheaper than a tight, damp crawl space. | Medium Impact: Accessibility affects labour time and safety measures. |
| Material Type | Removing and replacing porous materials (drywall, insulation) costs more than cleaning non-porous surfaces. | High Impact: Demolition is a significant cost factor. |
| Containment Level | The level of containment needed to prevent cross-contamination depends on the mould type and location. | Medium Impact: Complex setups add to labour and material costs. |
| Demolition/Rebuild | A job isn't done until your home is put back together. This includes new drywall, paint, flooring, etc. | High Impact: Restoration can be a substantial part of the total cost. |
Ultimately, a detailed and transparent quote will account for all these factors, leaving no room for surprise charges down the line.
Demolition and Rebuilding Needs
A true remediation professional doesn't just get rid of the mould; they restore your home. If we have to remove sections of drywall, tear out flooring, or pull down insulation, those materials must be replaced.
A complete, honest quote will always factor in the restoration phase. If a price seems too good to be true, it probably only covers the clean-up, leaving you to find—and pay—another contractor to fix the gaping hole in your wall.
A comprehensive mould remediation Hamilton service sees the job through from start to finish, from demolition to the final coat of paint. This approach ensures there are no hidden costs and you're paying for a complete solution that returns your home to its pre-damage condition.
Common Questions About Mould in Hamilton Homes
Even after you’ve decided to tackle a mould problem, it’s natural to have more questions. We get it. As the experts in mould remediation Hamilton homeowners have come to rely on, we’ve heard just about everything, and we believe in giving you straight, honest answers.
Think of this as the final chat at your kitchen table, where we clear up any last-minute worries. Our goal is to arm you with the confidence that comes from truly understanding the process, separating fact from fiction, and knowing exactly what to expect.
Can I Just Use Bleach to Kill the Mould Myself?
This is the most common question we hear, and the answer is a firm no. Sure, bleach might wipe the dark stain off a hard, non-porous surface like a tile, but it does next to nothing for the real problem lurking in drywall, wood, or insulation.
Mould isn't just a surface stain; it grows deep roots, almost like a weed, that dig into porous materials. Since bleach is mostly water, it can't actually reach those roots. Worse, the water in the bleach can end up feeding the mould hiding underneath, making the problem even bigger down the road.
A professional approach is the only real solution for three key reasons:
- Complete Removal: We don't just clean the surface; we physically remove the contaminated materials, roots and all.
- Safety First: We use proper containment systems to stop spores from spreading through the air and contaminating the rest of your home during the removal.
- Source Identification: Most importantly, we find and fix the moisture problem that let the mould grow in the first place. Without this step, it's guaranteed to come back.
Is Black Mould More Dangerous Than Other Types?
"Black mould" gets a lot of media attention. The term usually refers to a species called Stachybotrys chartarum, which can produce mycotoxins that are especially nasty. But focusing only on the colour is a mistake.
Many different types of mould can appear black, and countless other species—whether they’re green, white, or orange—can also cause serious health problems. This is particularly true for people with allergies, asthma, or weakened immune systems. The only safe way to approach it is to treat all visible mould as a potential health risk. Instead of trying to guess the species, the top priority should always be safe and total removal.
The colour of mould tells you very little about how dangerous it is. The rule of thumb for any homeowner is simple: if you see mould, it needs to be professionally remediated, no matter what it looks like.
How Long Does a Professional Mould Remediation Project Take?
There’s no one-size-fits-all answer here; the timeline really depends on the size and complexity of the problem.
A small, contained issue—say, a patch of mould in a bathroom closet from a tiny, slow leak—might only take 1 to 2 days. That timeframe covers setting up containment, carefully removing the affected drywall, cleaning the area, and prepping it for repair.
On the other hand, a much larger job, like a full basement remediation caused by a leaky foundation, could easily take 3 to 5 days or even longer. The extra time is needed for a bigger containment zone, more demolition, a deeper clean, and the crucial drying period where industrial dehumidifiers run to pull every last bit of moisture out before rebuilding can start. Any good contractor will give you a clear, detailed timeline in their scope of work before they begin.
Will My Homeowners Insurance Cover Mould Remediation?
This is a tricky one. Insurance coverage for mould is all over the map, and it almost always comes down to what caused the moisture problem in the first place.
As a general rule, your policy might cover mould if it was caused by a "covered peril" that was sudden and accidental—think a burst pipe flooding your kitchen. However, mould that grows slowly over time because of ongoing issues like high humidity, deferred maintenance, or water seeping through the foundation is almost always excluded from standard policies.
It is absolutely critical that you review your specific policy documents and talk directly to your insurance provider to find out what's covered. Don't just assume. Getting a clear answer upfront can save you from a major financial headache. To get ahead of issues insurance won't touch, it's a great idea to learn about preventing mold growth in your basement before a problem ever starts.
When it comes to protecting your home's foundation and ensuring its substructure is safe, dry, and mould-free, you need a team with proven expertise. At G1000 Home Substructure, we specialize in the foundational work that keeps Hamilton homes secure. If you’re facing moisture issues or need an expert assessment, start with a free, no-obligation consultation by visiting us at https://g1000home.ca.

